Ragi kali | How to make ragi kali in 15mins | Kelvaragu kali
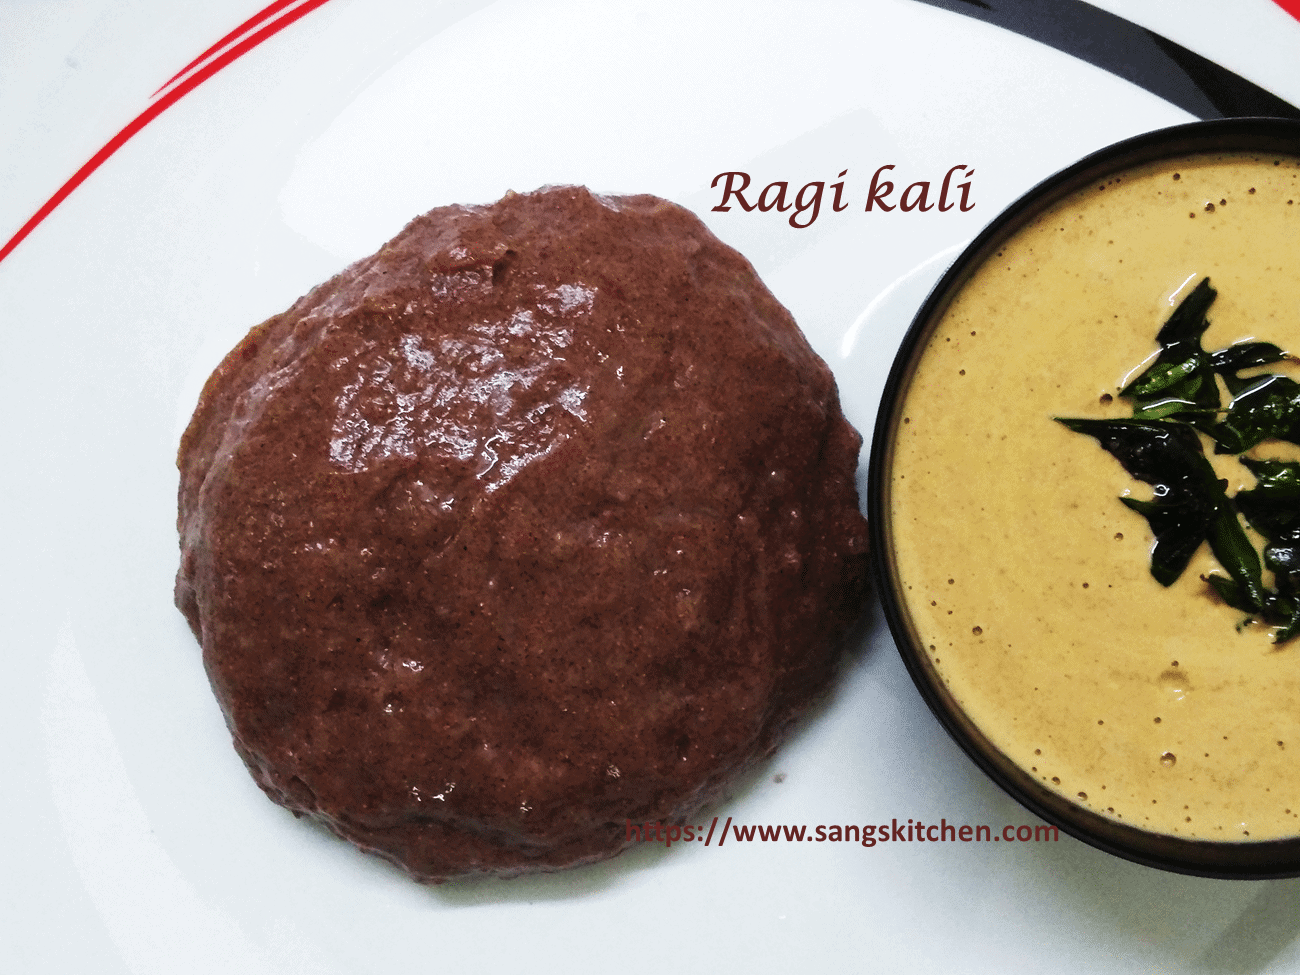
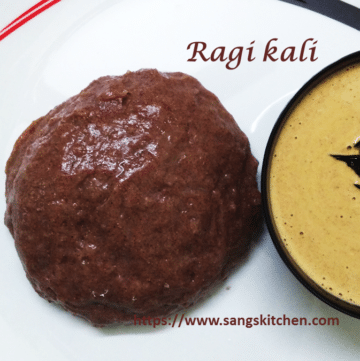
Ragi kali or Kelvaragu Kali is a healthy breakfast or dinner food made with finger millet flour and served with sambar/chutney/curd. Learn to make easily in a non-stick pan.
First of all, this ragi kali is slightly different from ragi mudde, the staple everyday food of Karnataka. Even though the dish is the same, the method of making differs a little. This method is almost same like ragi malt/porridge preparation.
In addition to that, Ragi mudde is bit heavier than this ragi kali and served as a firm ball with sambar. But this ragi kali is softer than mudde and stays soft even after cooling down. I will try to post that style of ragi mudde recipe soon in my blog.
Somehow, I find my method easier than the other one. Whatever the method you follow, finally the Kali//mudde should not have any lumps in it. To achieve this, I had seen my mom putting a considerable effort, sitting on the floor after finishing up and stirring vigorously with the back of a heavy wooden ladle. She makes the ragi kali in a clay pot with a grace.
When I first tried to cook with a clay pot I broke it (lol) with a vengeance …After that incident never tried this Kali again with a clay pot 😉 I truly find the non-stick pan helps a lot and works like a charm for making the Kelvaragu Kali in just 15 minutes.
Serve this Kali super hot with tomato gravy or any spicy thin gravy or with peanut chutney. Our favorite combination is tomato gravy and peanut chutney for this ragi kali.
Furthermore, I would like to mention the eating procedure of this mudde/Kali. What is new in eating?…yes for those who didn’t try it often like my kids, may find it different. The proper method is to scoop out a small ball from the hot Kali, dunk it in the sambar/chutney and just swallow. My kids are still learning & try to chew the bite which is not advisable. If you chew, it may not match your taste expectations 😉
For more ragi recipes:
Watch the video here:
Ragi kali | How to make ragi kali in 15mins | Boiled finger Millet balls
Ingredients
Ingredients:
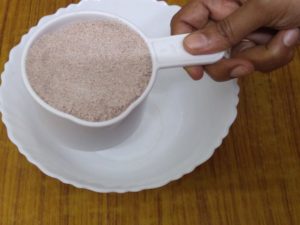
- 1 cup Ragi flour
- 2 cups water (approx.)
- + ¼ cup if needed
- ½ tsp salt (optional)
Instructions
Recipe to make ragi kali:
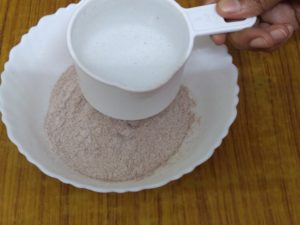
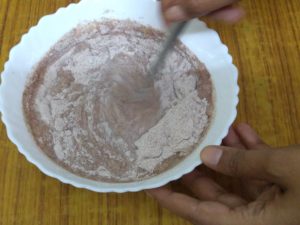
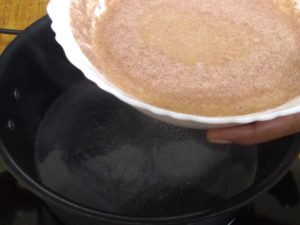
- Take the ragi flour in a mixing bowl with half a cup of water and mix it without any lumps.
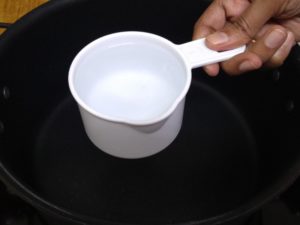
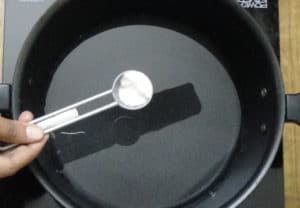
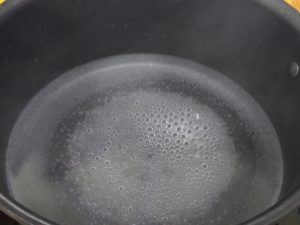
- In a deep non-stick pan/kadai, heat the remaining water with some salt.
- Let the water come to full boiling.
- Reduce the heat of the stove.
- Now add the ragi water mix gradually into the hot boiling water and start stirring.
- Don't wait even for a second without stirring and mixing.
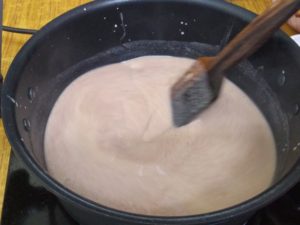
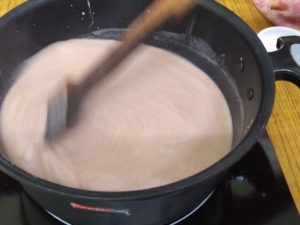
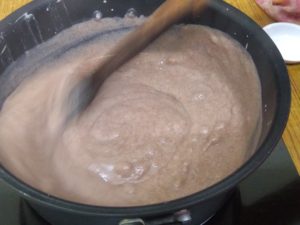
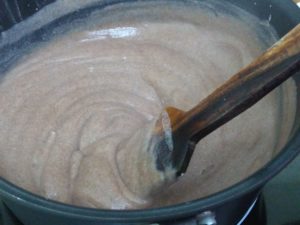
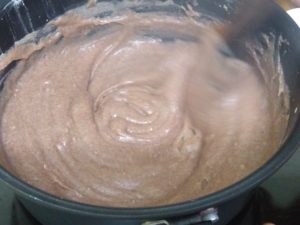
- In a few minutes, the ragi flour will start cooking and tends to make lumps.
- Hence stir the boiling ragi flour continuously using a wooden ladle quickly.
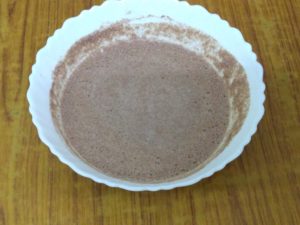
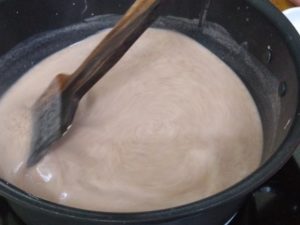
- Scrap and stir without break and in five to ten minutes ragi becomes thicker in texture.
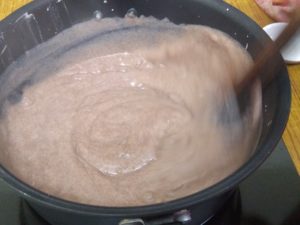
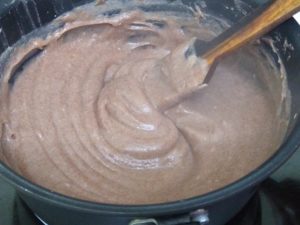
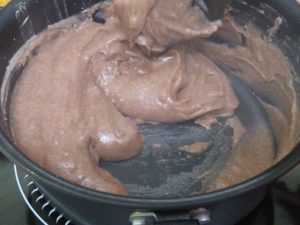
- In ten minutes, the kali reaches the final stage and there wouldn't be any lumps.
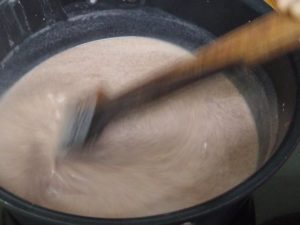
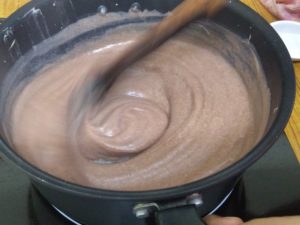
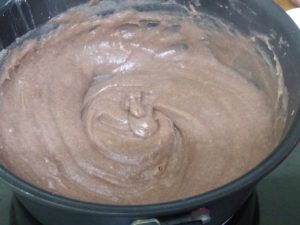
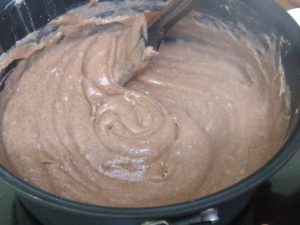
- Continue to stir with a ladle and at one stage, the ragi kali come to shape and leaves the pan.
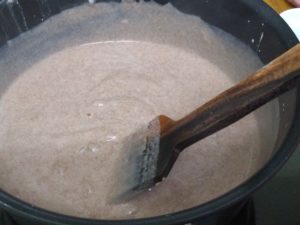
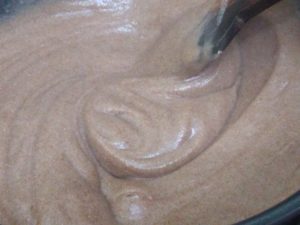
- The Kali looks glassy by this time.
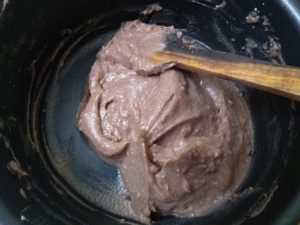
- If you want firmer mudde, continue to cook for five more minutes.
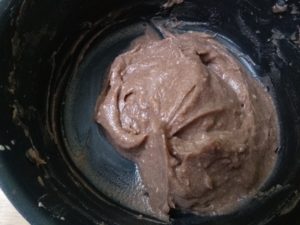
- Switch off at this stage and in a few minutes, it becomes firmer.
- Serve hot with Tomato gravy or chicken curry or peanut chutney.
Notes
Nutrition
Recipe to make ragi kali:
- Take the ragi flour in a mixing bowl with half a cup of water and mix it without any lumps.
- In a deep non-stick pan/kadai, heat the remaining water with some salt.
- Let the water come to full boiling.
- Reduce the heat of the stove.
- Now add the ragi water mix gradually into the hot boiling water and start stirring.
- Don’t wait even for a second without stirring and mixing.
- In a few minutes, the ragi flour will start cooking and tends to make lumps. Hence stir the boiling ragi flour continuously using a wooden ladle quickly.
- Scrap and stir without break and in five to ten minutes ragi becomes thicker in texture.
- In ten minutes, the kali reaches the final stage and there wouldn’t be any lumps.
- Continue to stir with ladle and at one stage, the ragi kali come to shape and leaves the pan.
- The Kali looks glassy by this time.
- If you want firmer mudde, continue to cook for five more minutes.
- Switch off at this stage and in a few minutes, it becomes firmer.
- Serve hot with Tomato gravy or chicken curry or peanut chutney.
Tips:
1) You can soak the leftover Kali in some water and use as koozh with curd the next day. Ragi koozh is equally healthy and tasty.
2) Always try to use a non-stick pan to make ragi kali in this method which saves time and effort.
3) In case if you end up with large lumps, do not panic. Just pour half a cup of super hot boiling water and stir again vigorously to break the lumps.
4) If the ragi flour is not cooked properly, it may cause indigestion to some people. So cook the ragi completely for at least ten minutes until the soft and glassy texture arrives.
5) The traditional Kali won’t have salt in it. And you can omit salt if you prefer it plain.